Why Seattle Homeowners Are Finishing Their Basements
Craftsman bungalows in Ballard, mid-century ramblers in Renton, older split-levels in Federal Way. A lot of King and Pierce County homes sit on full-height unfinished basements that get used for nothing but storage. That's 600 to 1,000 square feet of potential living space sitting behind bare concrete walls.
Finishing that space doesn't require adding onto the structure. You work with what's already there. In Seattle's market, that's a practical way to add a bedroom, a home office, or a family room without the cost and complexity of an addition.
But there's a catch. Puget Sound basements are damp. Before any framing or drywall goes up, you need to understand what you're dealing with moisture-wise. Skipping that step is the most expensive mistake we see, and we'll explain exactly why below.
What 'Finishing a Basement' Actually Means
The term gets used loosely. Finishing an unfinished basement in the Puget Sound area typically means: installing a moisture barrier on concrete surfaces, framing interior walls, adding insulation, hanging and finishing drywall, installing doors and trim, and painting. That's the core scope.
What it doesn't include: rewiring electrical circuits, running new plumbing supply or drain lines, or installing HVAC ducting. Those scopes require licensed trades working under their own permits. A basement finishing contractor handles the shell; electricians, plumbers, and HVAC technicians handle the systems inside it. Homeowners often need to coordinate both.
Framing and Moisture Barriers
The first thing that goes up isn't drywall. It's a vapor barrier. Typically 6-mil poly sheeting. Sealed against the concrete walls and floor. Concrete is porous. In a Puget Sound winter, moisture wicks right through it. Skip the barrier and drywall will absorb that moisture slowly, and mold follows within a season or two.
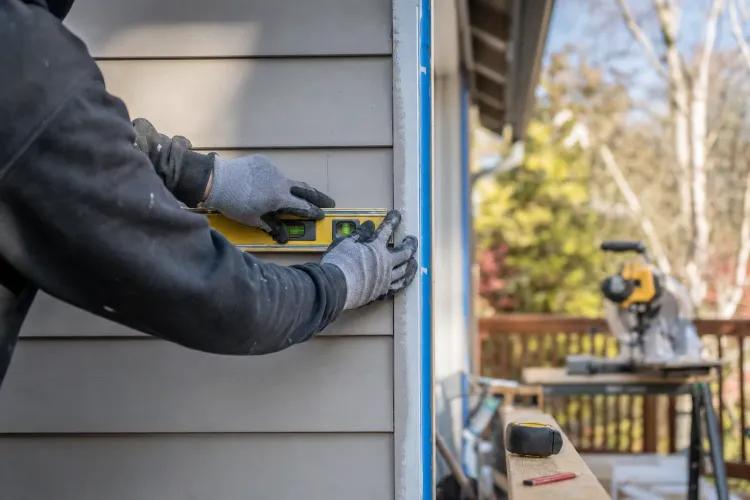
Framing comes next. Bottom plates. The horizontal boards that sit on the concrete slab. Should be pressure-treated lumber. Regular dimensional lumber in direct contact with concrete will eventually rot. We frame the stud wall set slightly away from the concrete face, which gives the vapor barrier room to do its job and allows any incidental moisture to drain rather than pool behind the wall.
For more on keeping moisture out of below-grade spaces, our work on crawl space encapsulation and moisture control uses the same principles. Vapor barriers, air sealing, and managing ground-level water before it becomes a problem inside your home.
Drywall Installation and Taping
Standard 1/2-inch drywall works fine for most basement walls. Near a utility sink, laundry area, or bathroom rough-in, use moisture-resistant drywall. Commonly called green board or purple board. Which has a water-resistant facing and core.
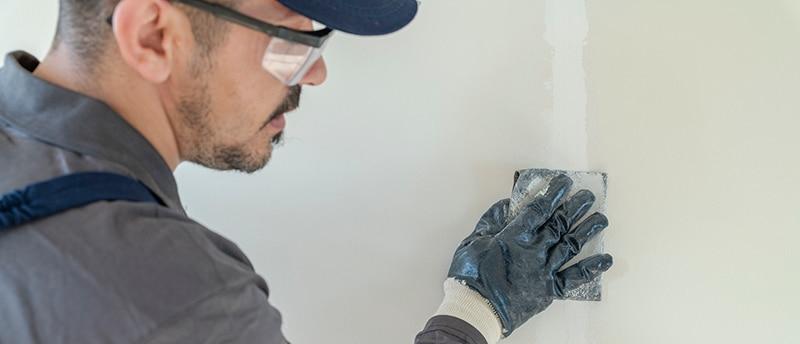
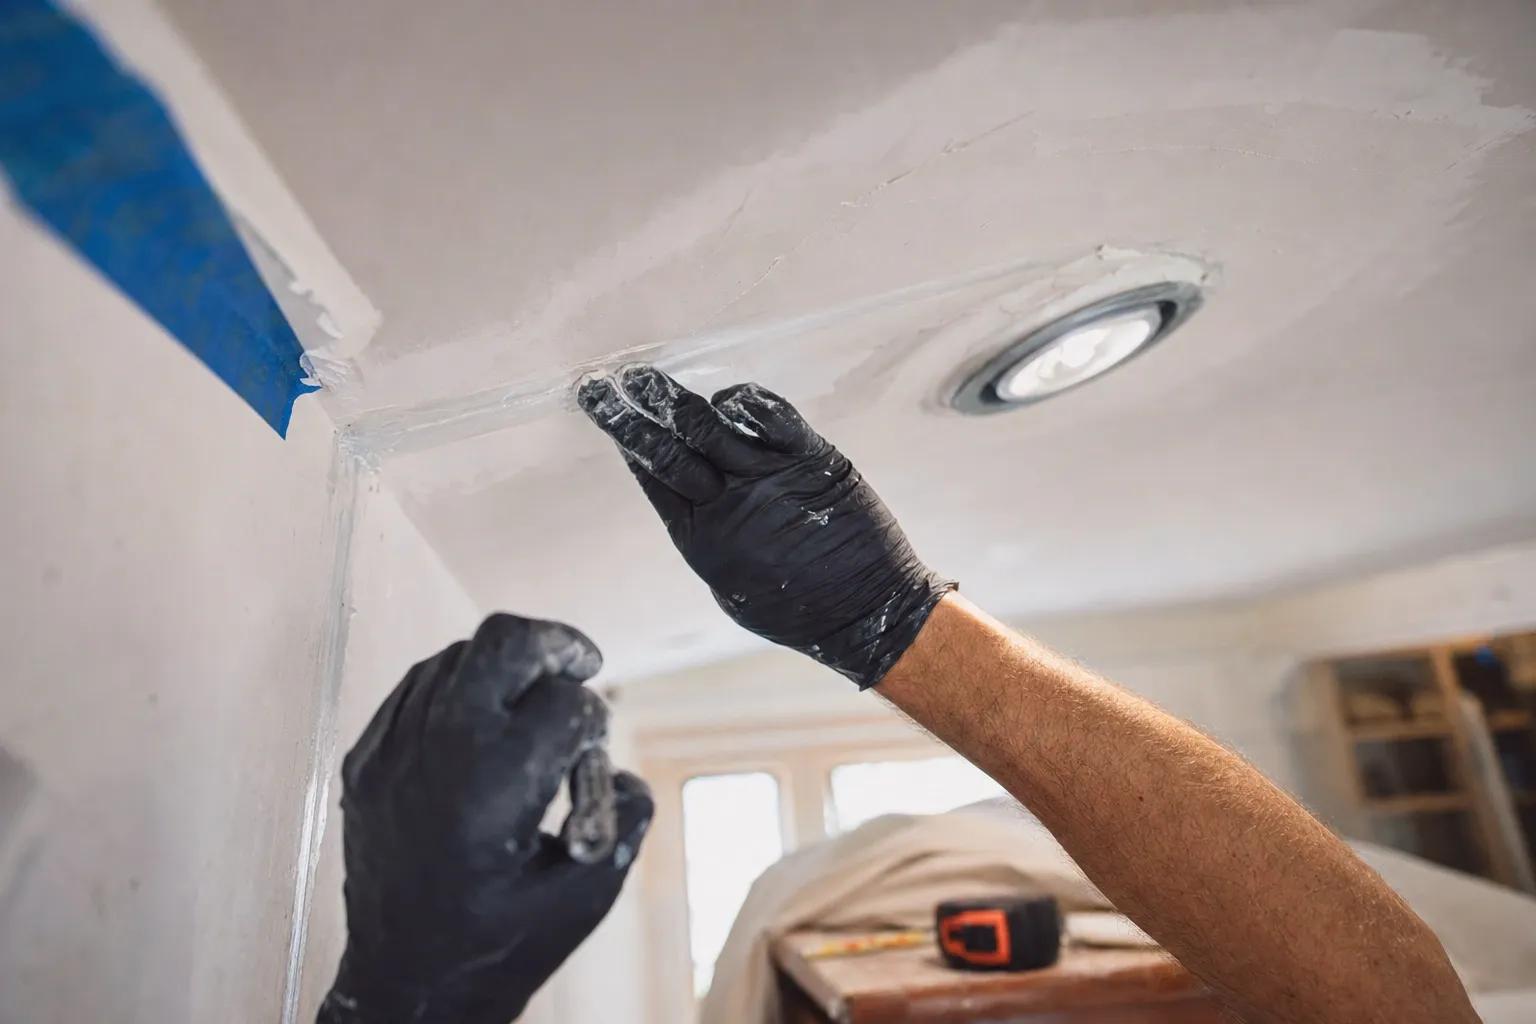
Once the panels are hung and screwed, the finishing process begins. A taper embeds paper or mesh tape over every seam and screw dimple using joint compound (a plaster-like filler), then applies additional coats to build a smooth, flat surface. Each coat needs to dry fully before the next one goes on. In Seattle's cool, damp months. October through April. That drying time stretches. A coat that might dry in 12 hours in a warm dry climate can take 24 hours or more here. Budget the schedule accordingly.
Want to understand the technique in detail? Our guide to drywall patching and finishing techniques walks through the process coat by coat.
Ceiling, Trim, and Paint
Basement ceilings usually go one of two ways: a drop ceiling (suspended grid with removable tiles, which keeps access to pipes and wires easy) or drywalled ceiling joists (cleaner look, but you lose easy access). Both are common in Seattle-area basement finishing work.
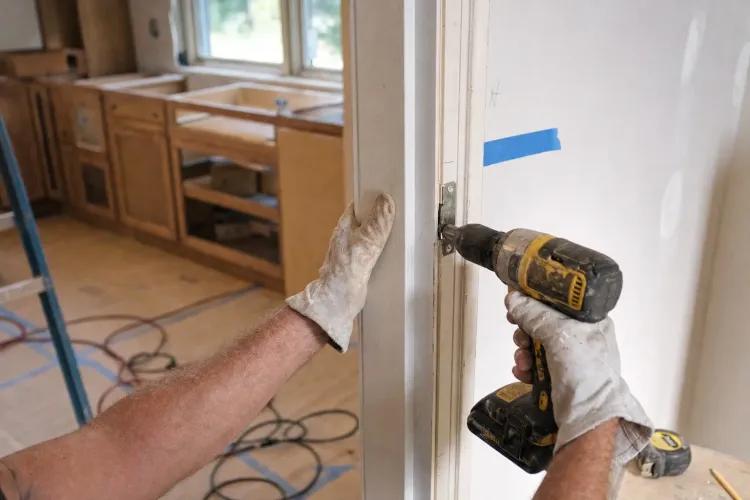
Trim and paint are the final steps. Door casings, baseboard, and any built-in shelving get installed, then everything gets primed and painted. Interior latex paint at the right sheen level pulls the room together. For a basement living space, a flat or eggshell finish on walls hides minor surface variation better than semi-gloss.
Which Contractors Handle Basement Finishing?
What a Handyman or Remodel Contractor Covers
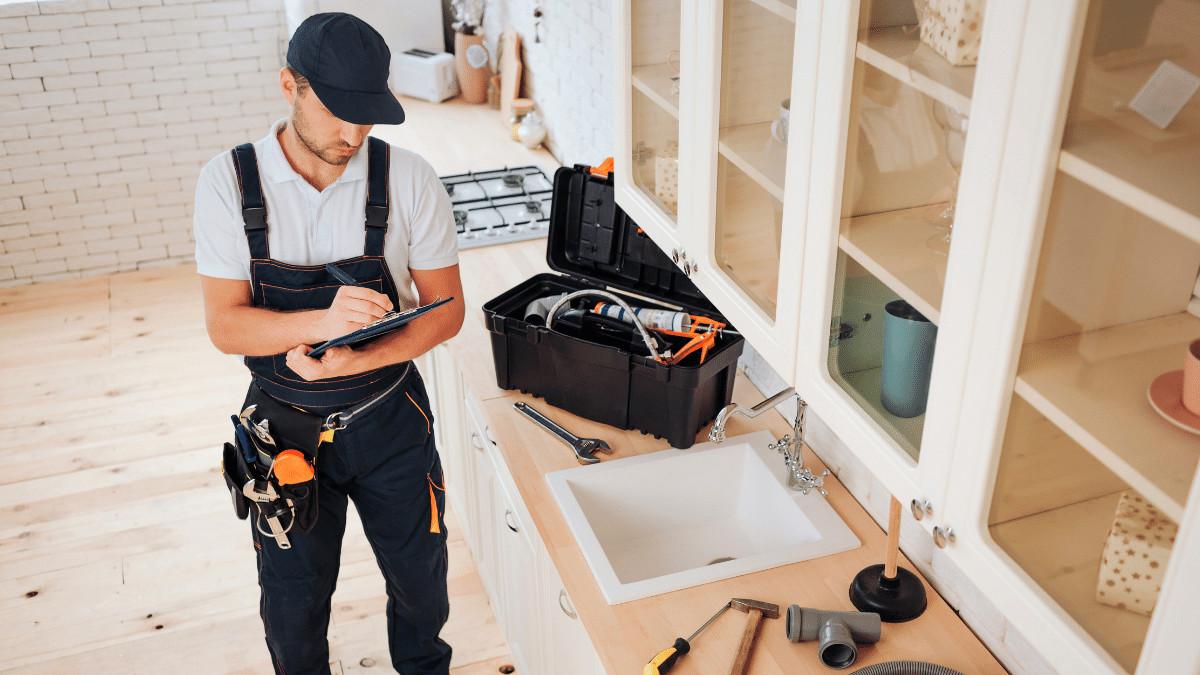
A licensed general contractor or remodel contractor manages the full scope. Permitting, subcontractor coordination, and all finish work. A handyman contractor like Handyman ST handles the finish trades directly: framing, insulation coordination, drywall hanging and finishing, doors, trim, shelving, painting, and minor fixture installation.
For homeowners doing a bathroom and kitchen remodeling scope inside the basement, we can handle the tile, cabinet, and finish carpentry work that falls within our scope. The distinction matters: know what your contractor covers before work starts so there are no gaps.
Our full drywall repair and finishing service covers everything from patch repairs to full basement drywall installation. Including the multi-coat finishing process that most DIYers find harder than expected.
Trades You'll Need to Coordinate Separately
Three scopes fall outside what a basement finishing contractor like us handles:
- Electrical circuits: Adding outlets, lighting circuits, or a subpanel requires a licensed electrician pulling the right permits. In Seattle, that work goes through the Seattle Department of Construction and Inspections (SDCI).
- Plumbing rough-in: A basement bathroom or wet bar needs a licensed plumber for supply lines, drains, and venting. This often involves cutting the concrete slab, which is a separate scope entirely.
- HVAC: Extending ductwork or adding baseboard heat to a finished basement requires an HVAC contractor. Don't assume the existing system has capacity. Many Seattle-area mid-century furnaces are already running near their limit.
WA Labor and Industries (L&I) requires all contractors operating in Washington to be registered. Before signing anything, verify any contractor's registration at the L&I contractor lookup tool. It takes 30 seconds and protects you.
How Handyman ST Approaches Basement Finishing in the Puget Sound Area
We start with a site assessment. Before we quote anything, we look at the concrete walls and floor for signs of active moisture: efflorescence (the white mineral deposits that form when water moves through concrete), staining at the base of walls, or rust marks from old fasteners. Any of those signals means we address moisture before framing starts, not after.
Moisture in a Pacific Northwest basement doesn't announce itself with standing water. It shows up six months later as bubbling paint and mold behind your new drywall. Diagnose it first, finish second.
On concrete walls, we install poly vapor barrier or rigid foam board insulation before the stud wall goes up. Rigid foam (typically 1 to 2 inches of XPS or polyiso board) also adds meaningful R-value. Useful in an older Seattle home that's already losing heat through uninsulated concrete. On the floor slab, a poly sheet under any subfloor material stops ground moisture from migrating upward.
For the drywall work, we apply three coats of joint compound minimum. What the industry calls a Level 4 finish, which is standard for a painted living space. We schedule around dry times, which in a Seattle winter means building extra days into the plan rather than forcing the next coat before the previous one is fully cured. Rushing that step is why you see seams telegraph through paint six months after a job is done.
We serve homeowners across Seattle and the surrounding area, including Bellevue, Renton, Kent, Federal Way, Tacoma, Puyallup, Bonney Lake, and Sumner. If you've already scheduled an electrician or plumber for the basement, we'll coordinate our sequence around their work so framing and drywall don't end up blocking access they need.
For a broader look at what protecting your home from water intrusion involves. Both inside and out. See our article on protecting your Seattle home from water damage.
Cost Factors and Timeline: What Affects Your Budget
Basement remodel cost in Seattle varies too much to quote by the square foot here. Ceiling height, room count, moisture conditions, and finish level all shift the number significantly. What we can tell you is what drives cost up or down.
| Cost Factor | Lower Cost | Higher Cost |
|---|---|---|
| Square footage | Under 400 sq ft, single room | 800+ sq ft, multiple rooms |
| Ceiling height | 8 ft or more (standard work) | Under 7 ft (awkward cuts, more waste) |
| Existing moisture | Dry concrete, no intrusion | Active seepage, needs drainage system |
| Drywall finish level | Level 4 (standard painted surface) | Level 5 (full skim coat, high-sheen paint) |
| Number of doorways | One or two openings | Multiple framed openings with prehung doors |
| Season / dry time | June-September (faster cure) | October-April (slower cure, extended schedule) |
Timeline for a 400 to 600 square foot single-room basement finishing scope. Framing through paint. Runs roughly one to three weeks once work begins. That assumes drywall compound gets adequate dry time between coats. Add another week minimum if electrical or plumbing trades need to complete their rough-in before walls close up.
October through April, joint compound cure times in an unheated Seattle basement can run 24 to 36 hours per coat. Running a portable electric heater in the space helps, but you can't rush chemistry. Three coats means at least three full dry cycles before sanding begins.
DIY vs. Hiring a Basement Finishing Contractor
Some parts of basement finishing are reasonable DIY projects. A single unfinished room getting paint and shelving. Manageable. Hanging drywall panels on a framed wall. Possible with some practice and a helper. But the finishing process (taping seams, feathering compound, sanding flat) has a steep learning curve. Visible seams and screw pops after painting are the most common DIY failure point, and fixing them means sanding and re-coating work that's already painted.
Moisture errors are more serious. If you frame and drywall over a concrete wall without a proper vapor barrier. And your Puget Sound basement has the moisture levels most do. You're likely looking at mold remediation within a year or two. That cost far exceeds what proper prep would have run upfront.
| DIY | Hire a Contractor | |
|---|---|---|
| Upfront cost | Lower (materials only) | Higher (labor + materials) |
| Time required | High. Weeks of weekends | Lower for homeowner |
| Drywall finish quality | Variable. Seams common for first-timers | Consistent Level 4 or 5 finish |
| Moisture risk | High if prep steps are skipped | Lower with proper assessment first |
| Permit coordination | Owner-builder can pull some permits | Contractor typically coordinates |
| Best for | Simple single-room, paint and shelving | Multi-room, moisture concerns, clean finish |
When to call a pro: multi-room layouts, any active moisture signs, permit-required work, and any time you want a finish that matches the quality of the upstairs rooms. A basement that looks like a basement defeats the purpose of finishing it.
- Single-room paint and shelving: reasonable DIY scope
- Full framing and drywall with multiple rooms: hire a contractor
- Any sign of moisture intrusion: get an assessment before touching anything
- Electrical, plumbing, or HVAC in the scope: licensed trades required, not optional
Frequently Asked Questions
Do I need a permit to finish my basement in Seattle?
Most basement finishing projects in Seattle require a building permit, especially when you're adding framed walls, egress windows, or electrical circuits. Check with Seattle's Department of Construction and Inspections (SDCI) or your city's building department before work starts. Unpermitted finish work can complicate a future home sale and may need to be removed.
How do I know if my basement has a moisture problem before finishing?
Tape a 12-inch square of plastic sheeting to the concrete floor and wall, seal the edges, and leave it for 48 hours. If you find condensation underneath, moisture is wicking through the concrete. In the Puget Sound climate, active moisture intrusion must be addressed with a vapor barrier or drainage system before any framing or drywall goes up. This is one of the most important steps in basement finishing in Seattle.
Can you hang drywall directly on concrete basement walls?
No. Direct contact between drywall and concrete invites moisture absorption and mold. A real concern in King and Pierce County basements. Standard practice for basement drywall installation in Seattle is to frame a stud wall set slightly away from the concrete, install a vapor barrier, add insulation, and then hang drywall on the framed wall. Skipping that sequence is the most common and costly mistake we see.
How long does it take to finish a basement in the Seattle area?
A 400 to 600 square foot single-room basement finishing project typically runs one to three weeks once framing begins. Joint compound needs 24 hours or more between coats, and Seattle's cool, damp weather from October through April slows cure times further. If electricians or plumbers need to complete rough-in work before walls close, add at least another week to the schedule.
What level of drywall finish do I need for a basement living space?
A Level 4 finish is standard for painted basement walls and ceilings in a living area. That means three coats of joint compound, sanded smooth, with all fasteners and tape fully covered. Level 5. A skim coat over the entire surface. Is worth considering if you plan to use flat or semi-gloss paint, since those sheens expose surface variation quickly. Most basement conversion contractor scopes in King County spec Level 4 unless the client requests otherwise.