Purchasing a shed from Costco is an excellent way to add valuable storage space to your property. However, the assembly process can be far more challenging than many homeowners anticipate. Those flat-pack boxes contain hundreds of components, and what seems like a straightforward weekend project can quickly turn into a week-long struggle. Understanding what's involved in proper shed assembly, installation, and finishing can help you decide whether to tackle it yourself or bring in professional help.
The Reality of DIY Shed Assembly
Costco sheds arrive as flat-pack kits with detailed instruction manuals, but the reality of assembly presents several challenges that aren't immediately obvious from the product description.
What You're Actually Dealing With:
- Multiple heavy boxes requiring two people to move safely
- Hundreds of individual components that must be organized before assembly
- Instructions that assume a certain level of construction knowledge
- Specialized tools that many homeowners don't have readily available
- A time commitment that typically ranges from 8-16 hours for experienced DIYers
- Physical demands including heavy lifting, climbing, and working at awkward angles
The assembly process requires precision from the very beginning. An unlevel foundation or improperly squared walls will cause problems throughout the entire project, leading to doors that won't close properly, gaps in the structure, and potential water infiltration issues.
Step 1: Foundation Preparation – The Critical First Step
Before you even open those flat-pack boxes, you need a proper foundation. This is where many DIY projects go wrong from the start.
Foundation Requirements:
- A perfectly level surface (even a slight slope causes major problems)
- Proper drainage to prevent water pooling under the shed
- Stable ground that won't shift or settle over time
- Adequate clearance from property lines and structures
- Compliance with local setback requirements and building codes
Foundation options include concrete slabs, gravel beds with timber frames, concrete piers, or paver systems. Each has advantages depending on your soil conditions, budget, and local climate. In the Seattle area's wet climate, proper drainage is particularly crucial to prevent moisture problems that can compromise your shed's longevity.
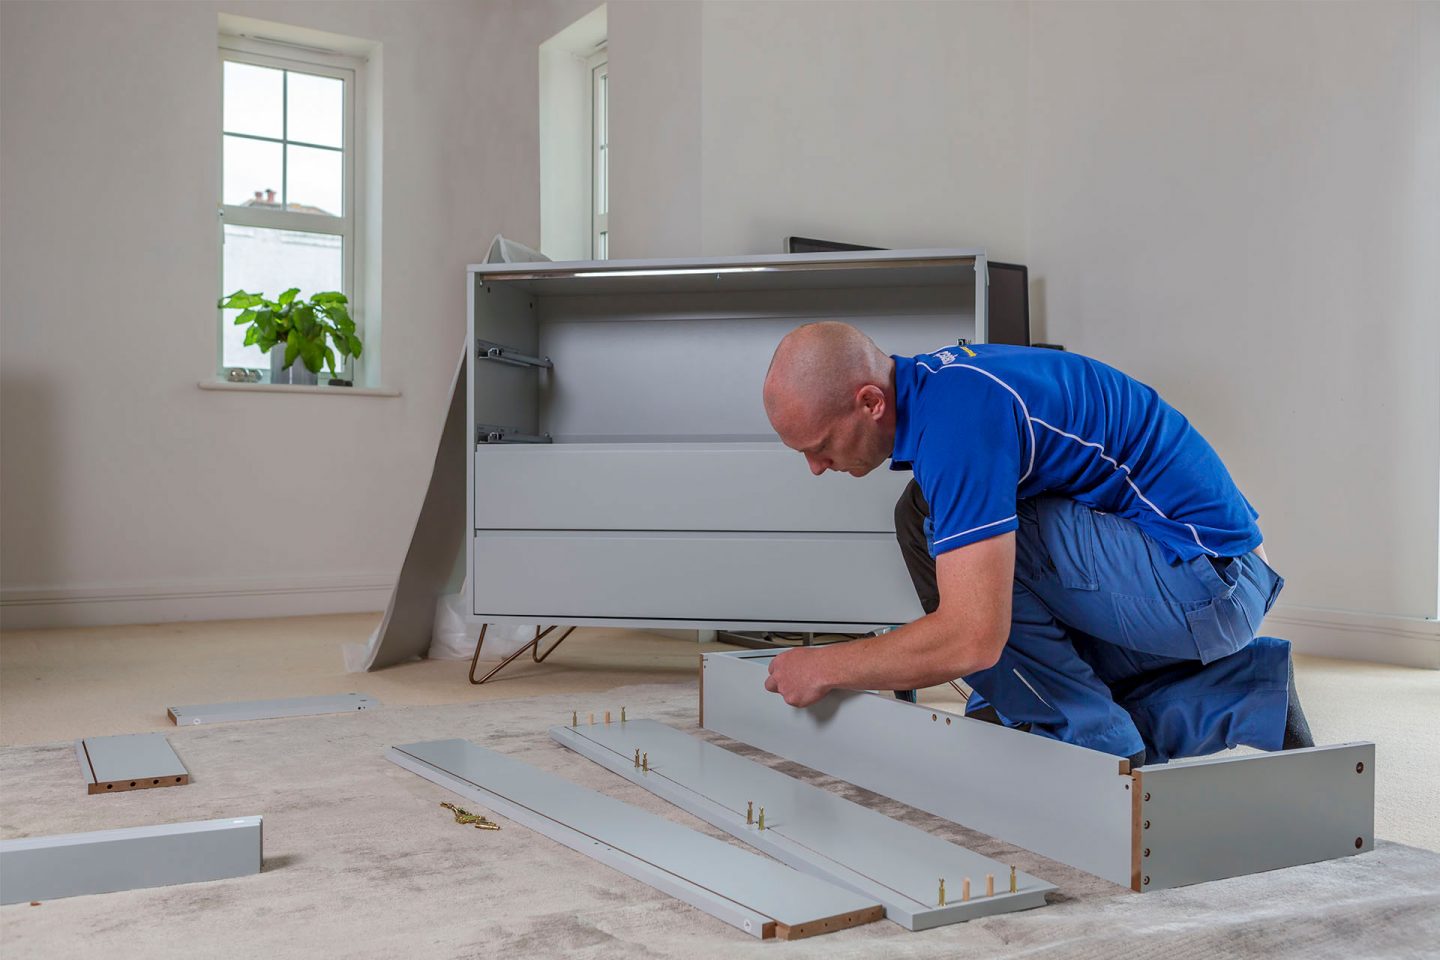
Step 2: Frame Assembly and Structural Installation
Once the foundation is ready, the actual assembly begins. This phase involves the most physical work and requires careful attention to the instructions.
Key Assembly Considerations:
- All walls must be perfectly square before securing
- Door and window openings need precise alignment
- Roof panels must be properly supported before fastening
- Hardware should be tightened in the correct sequence to prevent structural stress
- Two or more people are essential for safely handling large panels
The framing stage is where having experience with construction tools and techniques becomes invaluable. Power drills, levels, squares, and occasionally saws are necessary. Small mistakes during framing compound as you progress, potentially requiring disassembly and starting over.
Step 3: Roof Construction and Shingle Installation
The roof is arguably the most important element of your shed—it's your primary defense against the Pacific Northwest's frequent rain.
Proper Roofing Involves:
- Installing underlayment to create a moisture barrier
- Correctly overlapping shingles to channel water away
- Proper starter strip installation at roof edges
- Securing shingles to withstand wind without overdriving fasteners
- Ensuring proper ventilation to prevent moisture buildup
Shingle installation is a skill that requires understanding of water flow, proper overlap techniques, and weather-sealing. Incorrectly installed shingles can lead to leaks, wind damage, and premature deterioration. In areas from Seattle to Puyallup, where rain is abundant, a properly shingled roof is essential for protecting your stored belongings and the shed structure itself.
Step 4: Painting and Weather Protection
A freshly assembled shed is vulnerable to the elements. Without proper finishing, even pressure-treated wood will deteriorate faster than it should.
Why Painting Matters:
- Moisture protection prevents rot, warping, and splitting
- UV protection prevents fading and wood breakdown
- Pest deterrence (many insects are attracted to untreated wood)
- Extended lifespan of your investment
- Aesthetic integration with your property
Professional Painting Process:
- Surface preparation including sanding and filling imperfections
- Primer application to seal the wood and improve paint adhesion
- Two coats of high-quality exterior paint or stain
- Proper drying time between coats
- Attention to areas prone to moisture exposure
The painting phase is often underestimated by DIYers. Proper surface prep is time-consuming but absolutely necessary for paint longevity. Skipping primer or applying paint in poor weather conditions will lead to premature failure.
Common Shed Assembly Mistakes to Avoid
Even experienced DIYers encounter challenges when assembling Costco sheds. Being aware of common pitfalls can help you avoid costly mistakes:
Typical Issues:
- Starting assembly without reading the complete instructions first
- Neglecting to inventory all parts before beginning
- Assembling on an unlevel surface and trying to compensate later
- Over-tightening bolts during initial assembly (they should be fully tightened only after the entire section is assembled)
- Installing doors before the structure is fully square and secured
- Improper shingle installation leading to leaks
- Painting without adequate surface preparation
- Working alone when two people are necessary for safety
Timeline Expectations
Understanding realistic timeframes helps you plan appropriately:
For Experienced DIYers:
- Foundation preparation: 4-8 hours
- Assembly: 8-12 hours
- Shingle installation: 3-5 hours
- Painting: 6-10 hours (including drying time)
- Total: 2-4 days of actual work time
For First-Time Builders:
- Expect to double these estimates
- Factor in time for problem-solving and potential redo work
- Consider weather delays (painting requires dry conditions)
For Professional Assembly:
- Complete project: 1-2 days
- Includes foundation prep, assembly, roofing, and painting
When to Consider Professional Assembly
While many homeowners successfully assemble Costco sheds themselves, certain situations make professional assembly the smarter choice:
- Limited time availability (the project requires consecutive days of work)
- Physical limitations or health concerns
- Lack of necessary tools
- Uncertainty about foundation preparation or local building codes
- Desire for warranty coverage on the installation work
- Complex site conditions (slopes, limited access, drainage issues)
- Need for expedited completion
Professional assembly ensures your shed is built correctly the first time, with proper techniques that maximize its longevity and weather resistance.
What to Look for in Shed Assembly Services
If you decide professional assembly makes sense for your situation, here's what to evaluate:
Essential Qualities:
- Experience specifically with Costco shed models
- Knowledge of local building codes and permit requirements
- Comprehensive service including foundation prep, assembly, roofing, and finishing
- Proper licensing and insurance
- Clear written estimates with no hidden fees
- Warranty on workmanship
- Local reputation and customer reviews
Maintenance Tips for Long-Term Shed Performance
Once your shed is properly assembled and finished, regular maintenance keeps it functioning optimally:
- Inspect the roof annually for damaged or missing shingles
- Clean gutters if your shed includes them
- Touch up paint every 2-3 years, or as needed
- Check for pest activity, especially near ground level
- Ensure proper drainage around the foundation
- Lubricate door hinges and locks annually
- Remove debris and leaves from around the structure
- In winter, remove heavy snow loads from the roof
Conclusion
Assembling a Costco shed is an achievable project for capable DIYers willing to invest the time and effort required. However, it's a more substantial undertaking than many homeowners anticipate, requiring multiple days of work, various tools, and construction knowledge. Understanding the complete scope of the project—from foundation preparation through final painting—helps you make an informed decision about whether to DIY or hire professionals.
For homeowners across the Seattle area, from Redmond and Bellevue to Sammamish, Issaquah, Mercer Island, Maple Valley, Renton, Federal Way, Auburn, Sumner, Puyallup, and Bonney Lake, professional shed assembly services can transform what could be a frustrating multi-week project into a smooth, efficient process with guaranteed results.
Need help with your Costco shed assembly project? The experienced team at Stanis LLC Handyman & General Contractor provides comprehensive shed installation services, including foundation preparation, professional assembly, shingle installation, and expert painting. We handle projects throughout the greater Seattle area and ensure your shed is built to withstand Pacific Northwest weather for years to come. Contact us at contact@handymanst.com for a no-obligation consultation and estimate.