Drywall repair looks deceptively simple. You watch a quick video, grab some joint compound and a putty knife, and figure you'll have the hole patched in an hour. But many homeowners quickly discover that achieving professional-looking results is more challenging than it appears. What should be a straightforward fix often turns into a visible patch, recurring cracks, or an uneven surface that stands out under certain lighting.
Understanding the most common mistakes—and more importantly, how to avoid them—can mean the difference between a repair that's practically invisible and one that draws attention every time you walk past it. Whether you're fixing a small nail hole or patching a larger damaged area, knowing these pitfalls helps you achieve better results and avoid having to redo the work.
Why Drywall Repairs Often Go Wrong
Drywall repair seems like it should be simple because the materials are basic and widely available. However, the process requires patience, proper technique, and understanding how joint compound behaves as it dries. Many homeowners underestimate the time investment—expecting a one-hour project when reality requires multiple days of drying time between coats.
Additionally, the final result is highly visible. Unlike many home repairs that are hidden behind walls or in less-noticeable areas, drywall patches are typically at eye level in well-lit living spaces. Small imperfections that might go unnoticed in other projects become glaringly obvious once paint is applied, especially when light hits the wall at certain angles.
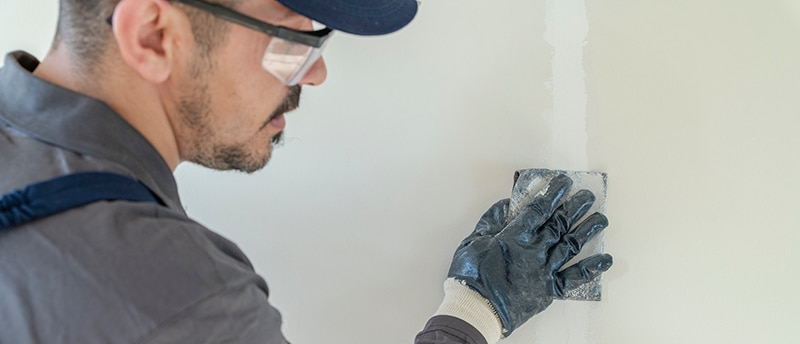
Mistake #1: Skipping Proper Surface Preparation
The foundation of any successful drywall repair is proper preparation. Yet this is the step most often rushed or skipped entirely, leading to poor adhesion and repairs that fail prematurely.
What Usually Goes Wrong:
Dirty or Contaminated Surfaces: Joint compound won't adhere properly to dusty, greasy, or dirty surfaces. Many homeowners apply compound directly over dust from sanding or even over old wallpaper residue, expecting it to stick. Within weeks, the patch begins separating from the wall.
Loose or Damaged Edges: Holes with loose drywall paper, crumbling gypsum, or soft edges create weak points. Applying compound over these compromised areas means your repair is built on an unstable foundation that will crack or separate.
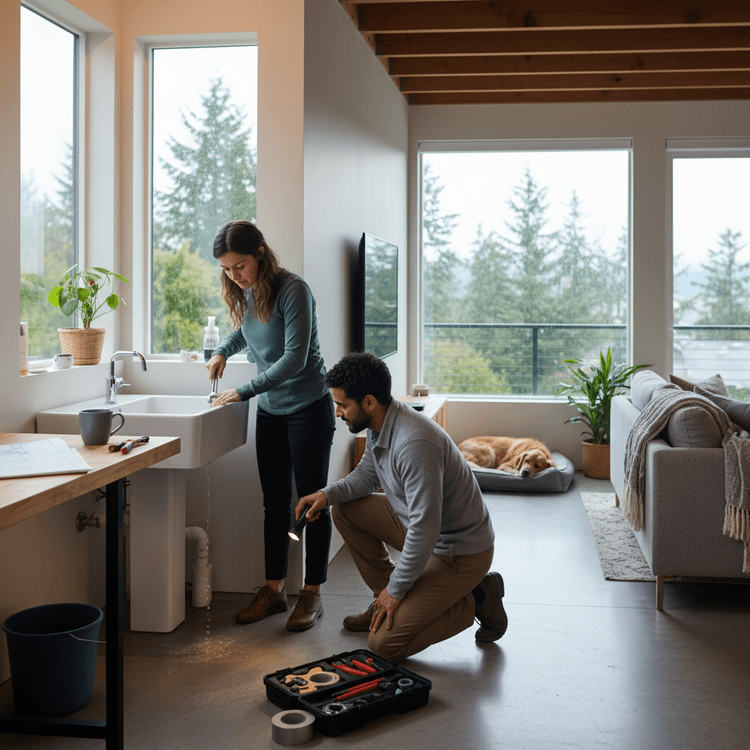
Unaddressed Moisture Issues: Patching over water-damaged drywall without addressing the moisture source or properly drying the area traps moisture behind the repair. This leads to bubbling compound, mold growth, and eventual patch failure.
Irregular Hole Shapes: Trying to patch irregularly shaped holes makes it difficult to achieve smooth edges. The compound must bridge varying distances, creating thin spots that crack and thick spots that are hard to sand smooth.
How to Avoid This Mistake:
-
Clean Thoroughly: Remove all dust, grease, and loose material from the repair area using a dry cloth or vacuum.
-
Cut Clean Edges: Use a utility knife to cut away any loose or soft drywall paper and crumbling gypsum. For holes, cut the damaged area into a clean square or rectangle with solid edges.
-
Address Underlying Issues: If damage is from water, identify and fix the source before repairing. Allow the area to dry completely (this can take several days).
-
Add Backing Support: For holes larger than 2-3 inches, install backing support—either mesh patches, drywall repair clips, or backing boards secured behind the opening.
-
Prime Damaged Paper: If the drywall's paper face is damaged but still attached, apply a coat of primer to seal it before applying compound.
Starting with proper preparation adds time to your project but dramatically improves the durability and appearance of the final result.
Mistake #2: Applying Joint Compound Incorrectly
Joint compound application is where technique matters most. The thickness, number of coats, and feathering technique all affect the final result.
What Goes Wrong:
Too Much Compound at Once: Applying thick coats seems efficient but creates multiple problems:
- Extended drying time (sometimes days for thick applications)
- Shrinkage cracks as the compound dries
- Difficulty achieving a smooth finish
- Sagging or slumping on vertical surfaces
- Compound that never fully hardens in the center
Too Little Compound: Insufficient compound leaves the repair below the wall surface. Sanding can't fix low spots—it only makes them more obvious. The repair shows through paint as a depression.
Poor Feathering: Abrupt edges where the compound meets the existing wall create visible ridges. Even after painting, these ridges catch light and draw attention to the repair.
Inconsistent Application: Uneven compound thickness causes some areas to dry faster than others, leading to uneven shrinkage and surface irregularities.
How to Avoid This Mistake:
-
Use the Multiple Thin Coats Approach:
- First coat: Embed tape (if using) and fill the deepest part of the repair
- Second coat: Extend coverage 2-3 inches beyond the first coat, feathering edges
- Third coat: Extend even wider (6-8 inches beyond the repair), making edges paper-thin
- Additional coats as needed for complete smoothness
-
Master Feathering Technique:
- Hold your knife at a low angle (nearly flat against the wall)
- Apply light pressure, gradually lifting the knife as you move away from the repair center
- Each coat should extend progressively wider with increasingly thin edges
-
Allow Complete Drying Between Coats:
- Wait a full 24 hours between coats (longer in humid conditions)
- Compound should be completely white, not gray or dark
- Test by touching—should feel cool but not damp
-
Remove Excess Immediately:
- Scrape off ridges and knife marks while compound is still wet
- Easier than sanding later
- Reduces total sanding time significantly
Multiple thin coats require more patience but produce superior results compared to one or two thick applications.
Mistake #3: Inadequate or Improper Sanding
Sanding transforms your repair from obviously patched to professionally finished. Yet many homeowners either skip sanding entirely, don't sand enough, or sand incorrectly.
What Goes Wrong:
Skipping Sanding: Dried joint compound isn't smooth. It shows knife marks, ridges where coats overlap, and small imperfections. Paint doesn't hide these—it often makes them more visible by creating shadows.
Over-Sanding: Aggressive sanding removes too much compound, creating low spots or exposing the mesh tape or paper. This requires additional coats, extending the project timeline.
Sanding Only the Repair Center: Focusing only on the patch center without addressing the feathered edges leaves visible transitions where the repair meets the original wall.
Using Wrong Grit Sandpaper: Coarse sandpaper (below 120 grit) leaves scratches that show through paint. Very fine paper (above 220 grit) clogs quickly with compound dust and takes too long.
Not Checking Work: Sanding without proper lighting or touch-testing means you miss imperfections until after painting, when they're much harder to fix.
How to Avoid This Mistake:
-
Use Proper Grit Progression:
- Start with 120-grit for removing significant ridges
- Finish with 150-grit for smooth surface
- Use 220-grit only for final touch-ups if needed
-
Sand Between Every Coat:
- Light sanding after each coat removes imperfections before they're buried under more compound
- Requires less total sanding than waiting until the end
-
Use Proper Lighting:
- Hold a work light at an angle to the wall
- Shadows reveal high spots, ridges, and imperfections
- Sand until the surface appears flat from all angles
-
Feel the Surface:
- Run your hand over the repair
- You should feel no transition from patch to wall
- If you can feel it, you'll see it after painting
-
Control Dust:
- Use sanding sponges instead of sandpaper for less dust
- Vacuum frequently to see your progress
- Wipe with damp cloth after final sanding
-
Don't Over-Sand:
- Stop when the surface is smooth and flush
- Going further exposes underlying layers
Proper sanding is time-consuming but absolutely essential for invisible repairs.
Mistake #4: Incorrect Drywall Tape Application
Drywall tape reinforces seams and prevents cracks, but only when applied correctly. Improper tape application is a leading cause of repair failure.
What Goes Wrong:
Air Bubbles Under Tape: Trapped air creates weak spots where the tape isn't bonded to the wall. These bubbles often crack after painting or show as raised bumps on the finished surface.
Tape Applied Without Compound: Some homeowners apply self-adhesive mesh tape directly to the wall without embedding it in compound. While mesh tape is designed to be self-adhesive, it still requires compound underneath for proper strength.
Wrong Tape for the Application:
- Paper tape provides maximum strength but requires proper embedding technique
- Mesh tape is easier for beginners but less strong for large repairs
- Using mesh where paper is needed (or vice versa) compromises repair integrity
Tape Extending Beyond Compound: Exposed tape edges weren't covered with sufficient compound. These edges eventually lift, crack, or become visible through paint.
Wrinkled or Folded Tape: Creases and folds in the tape create ridges that are difficult to hide, even with multiple coats of compound.
How to Avoid This Mistake:
For Paper Tape:
- Apply thin coat of compound to the joint or seam
- Press tape into wet compound using your knife
- Run knife along tape to embed it and remove excess compound
- Smooth out any bubbles or wrinkles immediately
- Apply thin coat over the tape once embedded
- Let dry completely before additional coats
For Mesh Tape:
- Apply self-adhesive mesh over the repair area
- Apply thin coat of compound over the mesh
- Press compound through mesh openings for proper adhesion
- Feather edges and let dry
- Apply additional coats as needed
General Tips:
- Use paper tape for maximum strength on seams, corners, and large repairs
- Use mesh tape for quick fixes on small holes (under 6 inches)
- Never leave tape edges exposed—they must be fully covered by compound
- Smooth out bubbles while compound is wet (impossible once dry)
Mistake #5: Rushing the Drying and Painting Process
Patience separates amateur repairs from professional results. Rushing any step—from compound drying to final painting—almost guarantees visible imperfections.
What Goes Wrong:
Applying Coats Too Quickly: Adding compound over insufficiently dried previous coats causes:
- Cracking as trapped moisture escapes
- Extended total drying time
- Poor adhesion between layers
- Compound that never properly hardens
Sanding Too Soon: Sanding incompletely dried compound:
- Gums up sandpaper immediately
- Creates gouges in the soft compound surface
- Generates muddy residue instead of fine dust
- Requires additional coats to fix damage
Skipping Primer: Many homeowners paint directly over sanded compound, resulting in:
- "Flashing" where the repair shows through paint
- Uneven paint sheen (compound absorbs paint differently than drywall)
- Color differences requiring multiple paint coats
- Texture differences between repaired and original areas
Painting Before Complete Drying: Paint applied over damp compound:
- Doesn't adhere properly and may peel
- Traps moisture causing bubbling or cracking
- Prevents proper paint curing
- Creates long-term adhesion problems
How to Avoid This Mistake:
Respect Drying Times:
- Wait minimum 24 hours between compound coats
- In humid conditions, allow 36-48 hours
- Compound should be bright white, not gray
- Should feel cool but completely dry to touch
Environmental Factors:
- Run a dehumidifier in humid weather
- Improve air circulation with fans (not directly on repair)
- Avoid working in extreme cold or humidity
- Heat speeds drying but don't overheat (can cause cracking)
Always Prime:
- Choose the right primer:
- PVA primer for drywall repairs
- Stain-blocking primer if covering marks or stains
- Apply primer over entire repair area plus 6-12 inches beyond
- Let primer dry completely per manufacturer instructions
- Prime seals the compound and ensures even paint coverage
Final Painting:
- Use paint matching your wall (same brand and sheen if possible)
- Feather paint edges into surrounding area
- Multiple thin coats blend better than one heavy coat
- Allow proper drying between paint coats
The entire process from initial patch to final paint typically takes 3-5 days minimum. Attempting to compress this timeline almost always results in visible repairs that need redoing.
Additional Common Mistakes Worth Mentioning
Not Matching Wall Texture: If your walls have texture (orange peel, knockdown, etc.), a smooth patch stands out obviously. Practice texture matching on scrap material before applying to your wall.
Using the Wrong Tools: Dollar-store putty knives with rough edges leave marks in your compound. Invest in quality 4-inch, 6-inch, and 10-inch drywall knives for better results.
Ignoring Temperature and Humidity: Extreme conditions affect drying time and compound performance. Ideal conditions are 55-70°F with moderate humidity.
Not Cleaning Between Coats: Dust and debris on the previous coat prevent proper adhesion of the next coat. Wipe clean before each new application.
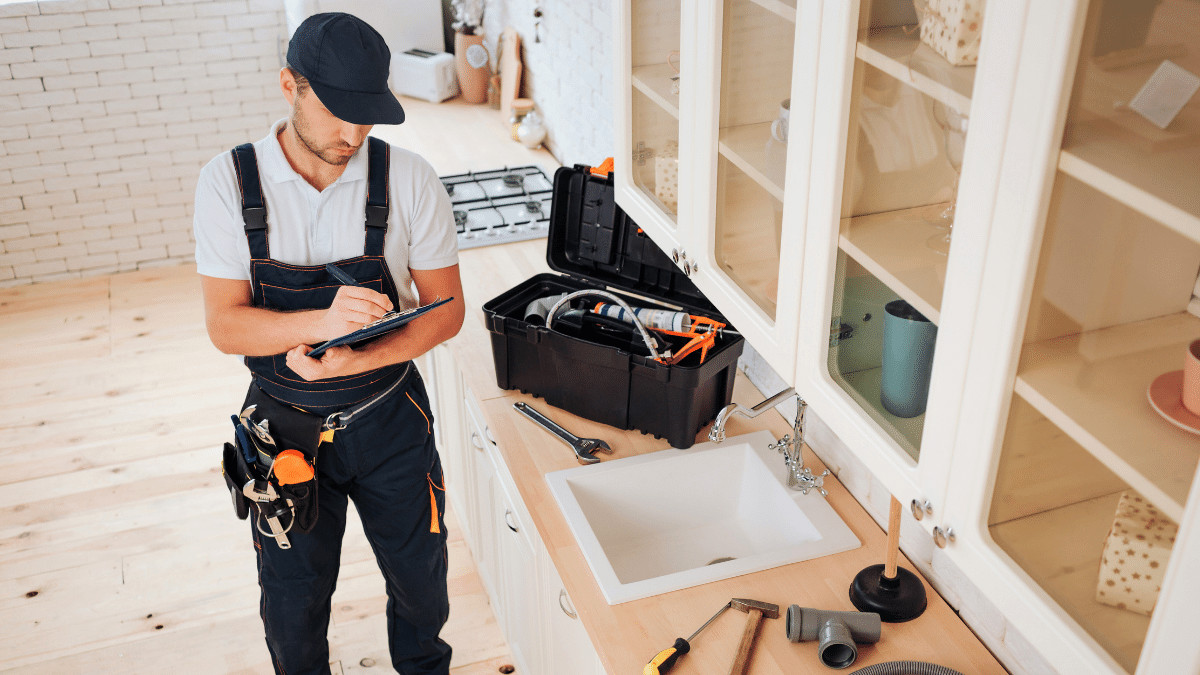
When to Call a Professional
While many drywall repairs are suitable for DIY, certain situations warrant professional help:
- Water damage or mold (indicates underlying problems)
- Large holes requiring structural support
- Textured ceilings or complex wall textures
- High-visibility areas where perfect results matter
- Multiple repairs throughout the home
- Recurring cracks (may indicate structural issues)
- Time constraints (professionals complete in 1-2 days what might take a homeowner a week)
Professionals have specialized tools, years of experience achieving smooth finishes, knowledge of proper repair techniques, and efficiency from completing repairs daily. For complex projects or when perfect results are essential, professional service often proves more cost-effective than DIY attempts requiring multiple rounds of corrections.
Conclusion
Most drywall repair failures stem from five common mistakes: inadequate preparation, incorrect compound application, poor sanding technique, improper tape use, and rushing the process. Understanding these mistakes and how to avoid them dramatically improves your repair results.
The key to successful drywall repair is patience. Each step—preparation, multiple thin coats, thorough sanding, and proper priming—takes time but contributes to invisible repairs. While the process requires several days from start to finish, taking time to do it correctly means you won't be staring at an obvious patch for years to come.
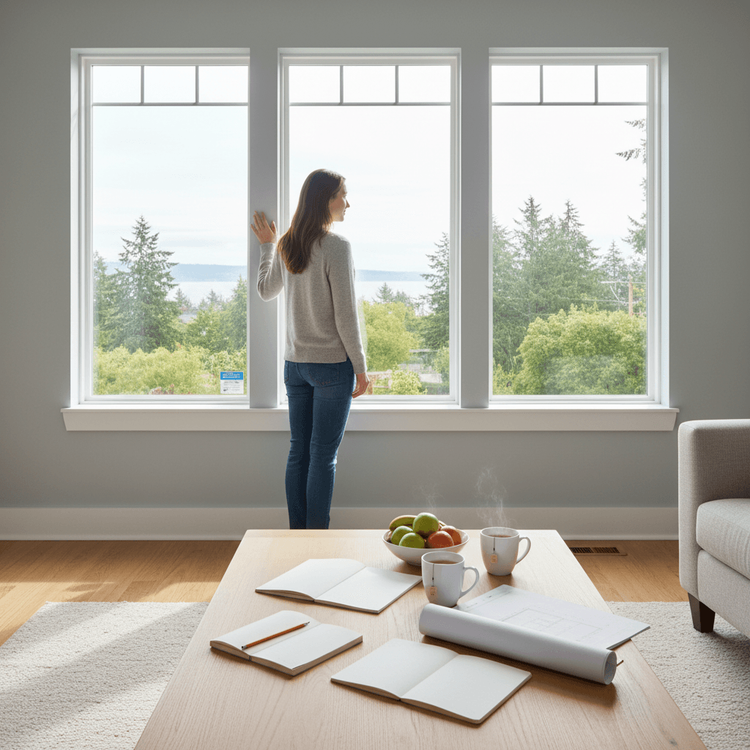
For homeowners throughout the Seattle area—including Bellevue, Redmond, Renton, Issaquah, Sammamish, Maple Valley, Puyallup, and surrounding communities—professional drywall repair services can handle everything from small patches to complete wall restoration. When DIY repairs don't turn out as planned or when you need perfect results in high-visibility areas, experienced professionals ensure flawless finishes. Stanis LLC Handyman & General Contractor provides expert drywall repair and painting services across the greater Seattle area. Contact us at contact@handymanst.com for professional drywall repair that's done right the first time.