When winter rain settles over Puget Sound, a poorly insulated house shows it fast: cold floors, damp corners, and heating bills that climb every month. Whether you plan to lay batts in the attic yourself or hire an attic contractor for the whole job, this guide covers insulation types, realistic costs, installation steps, and the air sealing work that should happen first.
Good home insulation in Seattle does double duty. It slows heat loss, and it manages the moisture that our marine climate pushes into attics, walls, and crawl spaces all year. Get both right and you end up with a quieter, drier, more comfortable house and noticeably lower energy use. Get either wrong and you risk mold, rot, and insulation that stops performing within a few years.
Why Home Insulation Matters in Seattle's Climate
Seattle's marine climate is mild but persistently damp. Homes here rarely face deep cold, yet heating systems run for eight or nine months a year while the building fights constant humidity. That combination means insulation cannot just trap heat. It has to work as part of a moisture management system.
Without adequate air sealing and vapor control, homes in Sammamish, Issaquah, and other Eastside communities often develop condensation inside walls and attics, which over time leads to mold growth and structural damage. Quality installation prevents those problems while keeping indoor temperatures steady.
Energy costs are the other driver. Seattle City Light and Puget Sound Energy both run rebate programs for qualifying insulation and weatherization work. Amounts and eligibility change often, so check the current utility rebate programs while you budget instead of relying on figures from older articles.
Types of Home Insulation: Materials and Applications
Understanding insulation types and costs helps you match the material to the location. Every product below has a place; the trick is using each one where it performs best. The per-square-foot figures are Seattle-area market estimates for comparison, not quotes.
Fiberglass Insulation
Fiberglass remains the most common choice because it is affordable and versatile. It comes in batts, rolls, and loose fill, and works well in standard wall cavities, attics, and rim joists. Market pricing typically runs $0.64 to $1.19 per square foot for materials.
Fiberglass resists fire and pests and installs easily. The catch: it irritates skin and lungs during handling, and it performs poorly once wet, which matters in our humid region. Keep it dry and it will serve for decades.
Spray Foam Insulation
Spray foam insulation offers the best air sealing and moisture resistance of any common material, which makes it a strong fit for Seattle homes. Closed-cell foam delivers the highest R-value per inch and doubles as a vapor barrier. Open-cell foam costs less but insulates less per inch.
Expect market rates of roughly $1.36 to $3.20 per square foot for materials, with professional application adding $1.50 to $4.90 per square foot. The upfront cost is high, but in homes with irregular framing or serious air leakage the performance often justifies it. This is not a DIY product; the chemicals require training and protective equipment.
Cellulose Insulation
Made from recycled paper, cellulose appeals to environmentally minded homeowners and provides excellent soundproofing. As a loose-fill material it settles into irregular cavities, which makes it ideal for retrofitting older homes in Renton and other communities where the framing does not match modern batt dimensions. Installed market pricing runs about $0.60 to $2.30 per square foot.
Rigid Foam Boards
Rigid foam excels on basement walls, rim joists, and exterior sheathing, where continuous panels eliminate the thermal bridging that stud-cavity insulation allows. Boards cost roughly $0.70 to $1.20 per square foot depending on thickness and type. For our wet climate, polyisocyanurate offers the best combination of moisture resistance and R-value.
Attic Insulation: The Biggest Win for Most Seattle Homes
Heat rises, so the attic is where most heating dollars escape. Upgrading attic insulation usually delivers the fastest payback of any insulation project, and it is often the first item an energy audit flags. Most of the attic insulation Seattle homeowners add today is blown-in cellulose or fiberglass, both of which handle the region's climate well when the attic is ventilated properly.
The Department of Energy recommends R-38 to R-60 for attics in our climate zone, which translates to roughly 10 to 16 inches of fiberglass or 8 to 13 inches of cellulose. Washington's energy code requires R-49 for new construction. If you are pricing attic insulation, Seattle homes built before 1980 frequently measure R-19 or less and benefit dramatically from a top-up.
Assessing Your Current Attic Insulation
Before adding material, evaluate what is already there. Step carefully on joists only, and measure the existing depth in several spots. Look for gaps around light fixtures and plumbing penetrations, insulation that has shifted or settled, and any sign of moisture staining, pest activity, or air leaks. Those problems need fixing before new insulation goes in, not after.
Step-by-Step Attic Insulation Installation
Materials needed:
- Insulation (calculate square footage plus 10% extra)
- Vapor barrier, if your assembly requires one
- Gloves, mask, eye protection, long sleeves
- Utility knife and measuring tape
- Headlamp or work light
- Boards to walk on
Installation process:
- Preparation: Clear the space and lay walking boards so you never step through ceiling drywall. Cut power to fixtures you will work around.
- Air sealing: Seal gaps around electrical boxes, plumbing penetrations, and framing joints with caulk or expanding foam before any insulation goes down.
- Vapor control: Vapor barrier requirements depend on your home's construction. Check local code or ask a professional before assuming you need one.
- Installation: Lay batts between joists without compressing them. Loose fill needs a blower, which rental centers carry, and covers obstacles more evenly.
- Verification: Confirm even depth across the whole floor, especially above exterior walls and around the perimeter where coverage commonly thins out.
Air Sealing and Weatherization: Do This Before You Insulate
Insulation slows heat transfer, but it does not stop moving air, and the average older home leaks air through dozens of small openings. Sealing those leaks first is the cheapest of all energy saving upgrades and makes every inch of insulation work harder.
Common leak locations include:
- Window and door frames
- Electrical outlets and switch plates on exterior walls
- Plumbing and wiring penetrations
- The attic hatch
- Basement and crawl space rim joists
A weekend with caulk, weatherstripping, and a few cans of foam sealant typically costs under $200 in materials and noticeably cuts drafts. Whole-house professional air sealing runs $1,500 to $3,000 at Seattle market rates. If you would rather hand off the punch list, Stanis LLC takes on small sealing and weatherstripping jobs through our handyman services, with small projects from $99, half-day visits at $350, and full-day visits at $600.
Doors deserve attention too: quality weatherstripping and a door sweep block a surprising amount of cold air. Aging single-pane windows are a bigger decision with their own budget math; our Seattle window replacement guide walks through costs and timelines.
What a Home Energy Audit Tells You
If you are unsure where to start, a professional energy audit takes out the guesswork. The auditor runs a blower door test to measure total air leakage, scans walls and ceilings with an infrared camera to find insulation gaps, and inspects the house from crawl space to attic. Expect two to four hours for a typical single-family home and a written report with prioritized fixes.
Some utility programs subsidize audits for their customers, so check with your provider before paying full price. The report keeps you from spending money on insulation your house does not actually need.
Insulation Costs and Payback in the Seattle Market
Typical Project Costs
Labor in the Seattle area generally runs $1.50 to $4.90 per square foot on top of materials, depending on access and complexity. As market estimates for professionally installed projects:
- 1,200 sq ft attic: $2,500 to $4,800
- 2,000 sq ft attic: $3,800 to $7,200
- Whole-house insulation: $8,000 to $18,000 depending on size and materials
Crawl Space Pricing
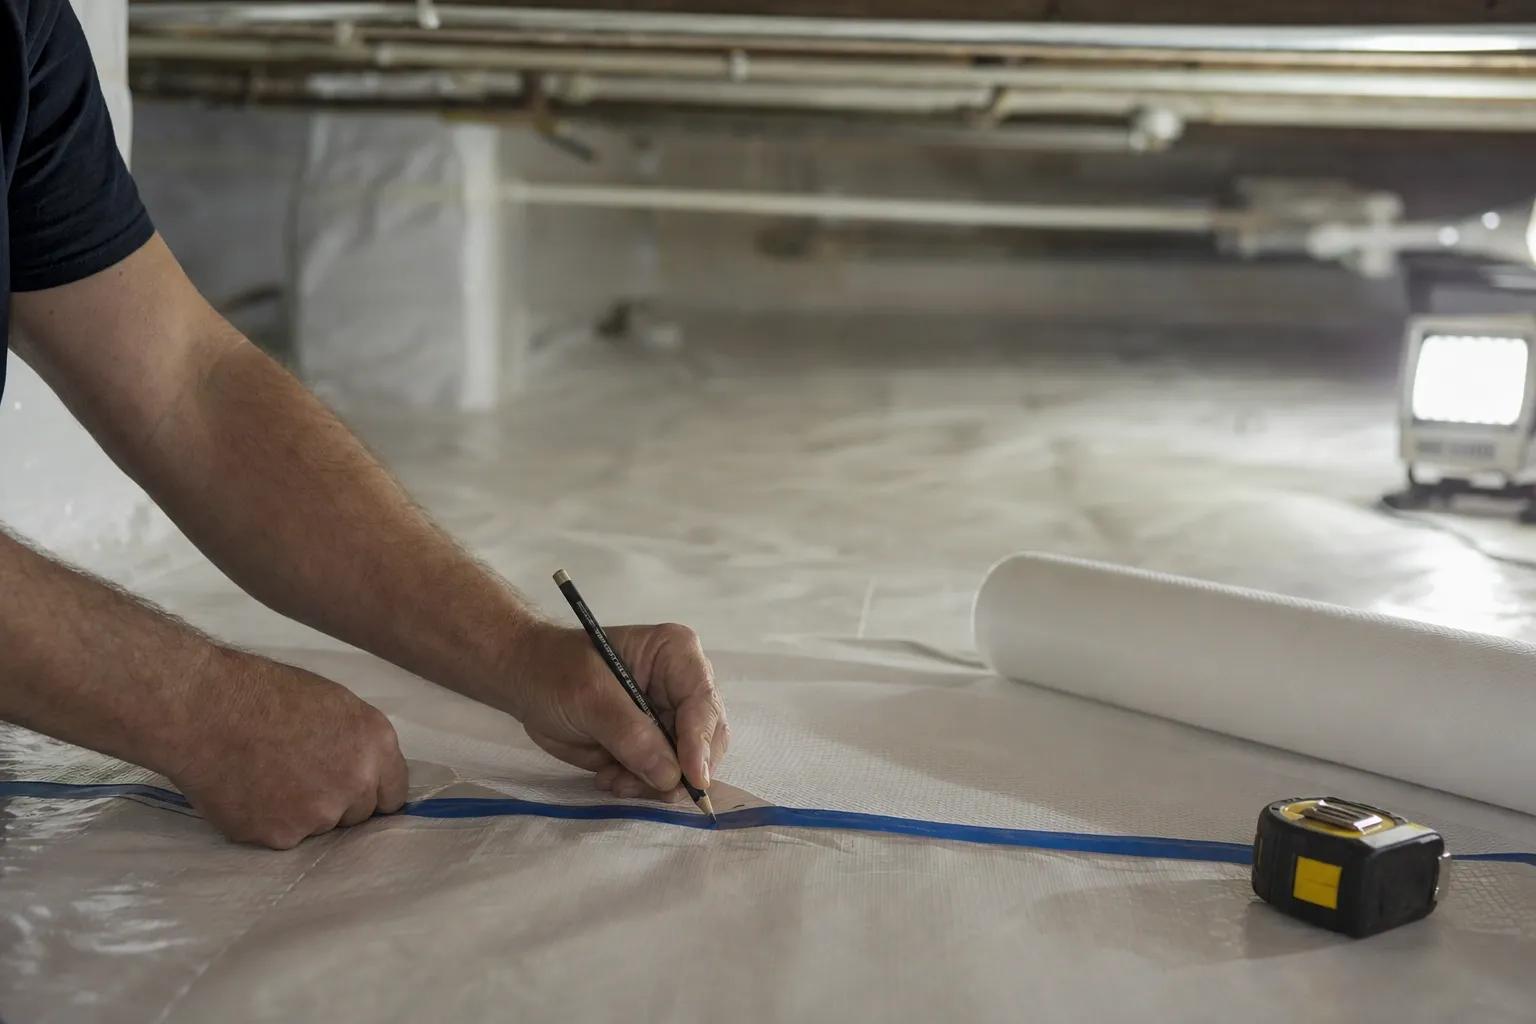
Crawl spaces are the one area where we can give exact numbers, because this is work Stanis LLC performs directly: $1,500 for vapor barrier installation, $3,500 for full crawl space encapsulation, and $5,500 for encapsulation with insulation. See our crawl space encapsulation and insulation service for what each package includes.
How Fast the Work Pays for Itself
A useful way to prioritize is by payback speed rather than sticker price:
- Fast payback, roughly 1 to 3 years: air sealing, weatherstripping, insulating the attic hatch
- Medium payback, roughly 3 to 7 years: attic insulation top-ups, rim joist insulation, crawl space vapor barriers
- Longer payback, 7 to 15 years: dense-pack wall insulation, exterior insulation added during residing
Seattle's mild winters stretch payback periods compared to colder regions, but utility rebates and the bump in home value shorten them again. Verify current rebate offerings with Seattle City Light or Puget Sound Energy before finalizing a budget.
When to Hire an Attic Contractor
Plenty of insulation work is honest DIY territory. The rest is worth paying for, and knowing the difference saves both money and callbacks.
Projects You Can Reasonably DIY
Laying batts in an open, accessible attic, blowing cellulose with a rented machine, cutting rigid foam for basement rim joists, and general caulking and weatherstripping are all manageable for a careful homeowner. You control the pace and pocket the labor savings. Just budget for proper safety gear and read up on code requirements first.
Projects That Call for a Pro
Hire out anything involving spray foam application, homes with knob-and-tube wiring, permits or inspections, suspected asbestos (including vermiculite insulation, which should be tested before anyone disturbs it), or cramped and hazardous spaces. Crawl space encapsulation also belongs on this list, because it is a moisture management project first and an insulation project second.
A good attic contractor earns the fee on prep work most DIYers skip: thorough air sealing, ventilation baffles at the eaves, dams around the hatch and flues, and complete coverage in the awkward corners where heat loss concentrates.
How to Vet an Attic Contractor in Washington
Verify any contractor's registration and bond through the Washington State Department of Labor and Industries, then ask for proof of insurance and recent local references. For spray foam, look for manufacturer certification, since product warranties often depend on it. Homeowners in Bellevue and Redmond can also ask how the contractor handles older Eastside housing stock, where framing quirks and past remodels complicate coverage. Stanis LLC works as a Washington-licensed general contractor and handyman company; you can see our credentials before requesting a quote.
Common Insulation Mistakes to Avoid
Skipping Air Sealing
Insulation installed over air leaks underperforms from day one, since moving air carries heat straight past the material. Seal penetrations and gaps first. It is the least glamorous step and the most important one.
Compressing the Material
Squashing fiberglass or cellulose into tight spaces destroys the trapped air pockets that make insulation work. Choose a thickness that fits the cavity instead of forcing a thicker product into it.
Ignoring Moisture Problems
Installing insulation over an active leak or condensation problem traps water in the assembly and invites mold. Find and fix the moisture source first. Our guide to preventing water damage in Seattle homes covers the usual suspects.
Leaving Coverage Gaps
Partial coverage creates thermal bridges where heat escapes freely. Pay particular attention to the areas above exterior walls, around recessed lights rated for insulation contact, and at the attic perimeter.
Maintaining Your Home's Insulation
Check attic insulation each spring for pest activity, water staining, and settling that opens gaps. Dark, dirty patches in fiberglass usually mark air leaks filtering dust through the material. Give crawl space insulation the same once-over, watching for sagging batts and vapor barrier damage. A fall walk-through pairs well with the tasks in our Seattle home winterization guide.
Kept dry, modern insulation lasts for decades; fiberglass in a sound assembly can serve 50 years or more. Moisture intrusion, pest contamination, or heavy compression cut that lifespan short, and material showing any of the three should be replaced rather than fluffed back up. Rising energy bills without a change in usage are the classic sign that insulation has quietly stopped doing its job.
Get the Right Help for Your Insulation Project
Whether you handle the attic yourself over a weekend or bring in a pro for the whole building envelope, insulation is one of the few home upgrades that pays you back every month. Start with air sealing, fix moisture issues before covering them, and match the material to the location.
If you want it done once and done right, work with an attic contractor backed by a general contractor's license. Stanis LLC is a Washington-licensed general contractor and handyman company serving Seattle, Bellevue, Redmond, Sammamish, Issaquah, Renton, and nearby cities, with crawl space encapsulation and insulation as a core service alongside air sealing and weatherization work. Request a quote or email contact@handymanst.com to talk through your project.